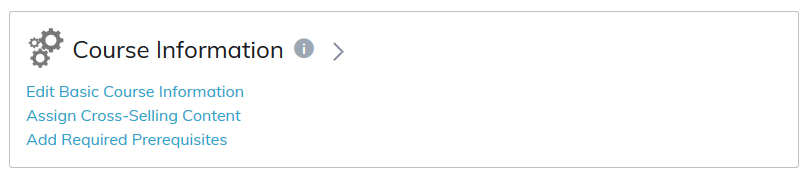
In this section you can edit basic course information and add required prerequisites for the course you are creating or modifying.
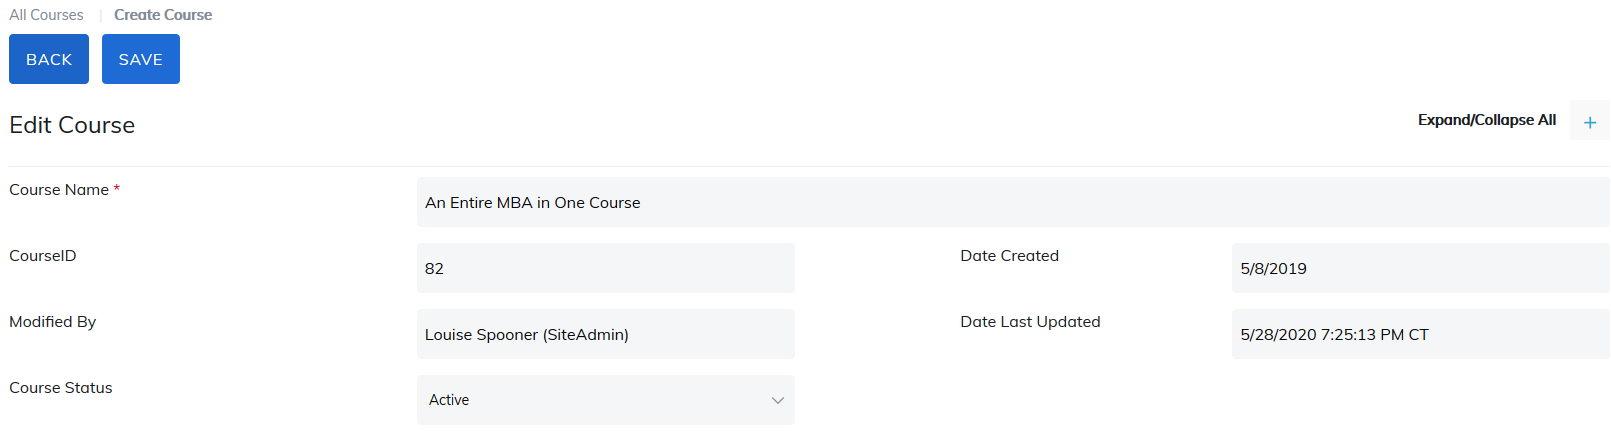
Once created, a course can be edited at any time. The same fields used to create the course will be visible and can be edited.
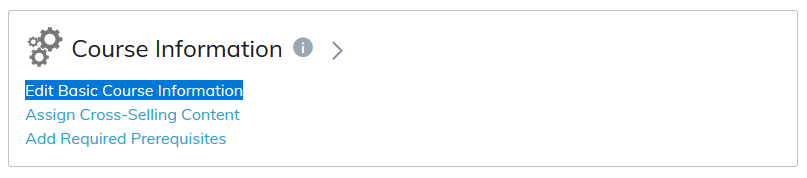
Edit Basic Course Information
Edit Program
- Course Name: This is a required field and should be unique to allow for better searching in the catalog and reports. The character limit in this field is 254.
- Some fields are "logs" and are auto-populated by TOPYX. These fields are:
- Course ID
- Date Created
- Modified By
- Modified Date
- Course Status: Drop down option for tagging courses as active (currently in use), dormant (not being used yet), or archived (no longer being used). This is for administrative reference only.
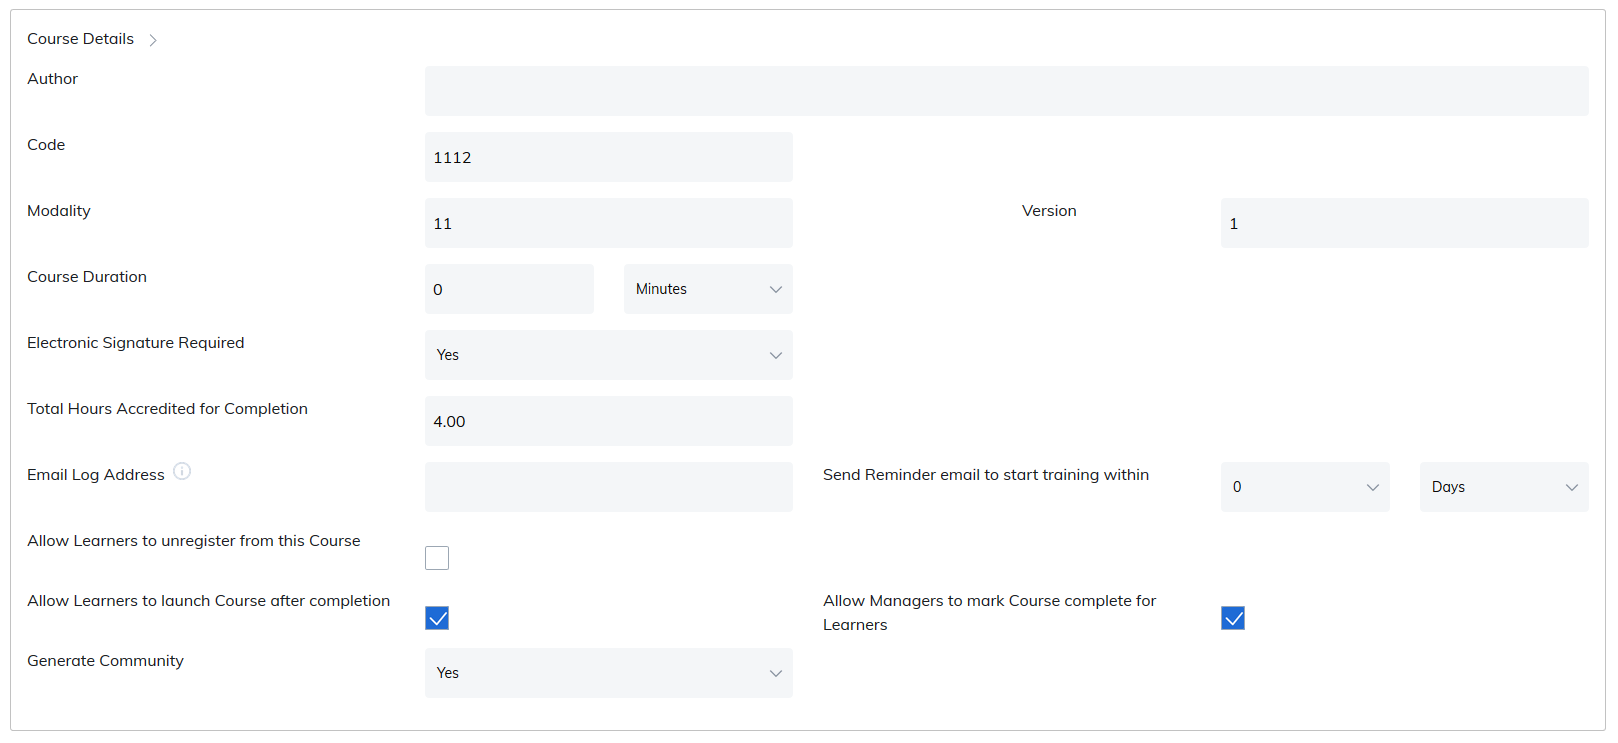
Course Details
| Field | Description |
|---|---|
| Author | Enter the author's name to give credit to those who created the course. This will appear on the catalog and material home pages. |
| Code | This information can appear in reporting if you are using it but it is an optional field. |
| Certificate Code | This field can be added to certificates to display an alpha-numeric text unique for each program, course, and material. |
| Modality | Any information entered here will display on the catalog page. Examples include "eLearning" and "Instructor Led". |
| Version | Enter information here to indicate the version of the course. |
| Course Duration | Define approximate time spent in completing the course by specifying in minutes, hours, or days. Duration will display in the course details section on the the course home page. |
| Approved by | Add approval to register for the course and select if the approval is by administrators, instructors, or managers. This option restricts access to the course until that approval is granted. This setting is not available on eCommerce sites. |
| Electronic Signature | By selecting Yes from the drop down list, an electronic signature is added to the course as a course component. Learners would need to agree to the electronic signature in order to complete the course. |
| Total Hours Accredited for Completion | Enter a value here for accreditation hours a learner will receive after completion of the content. |
| Allow all registered Learners to be Friends | Yes or No option if you are using communities. |
| Email Log Address | The email address will receive a copy of registration and purchase notifications as learners register for the course. |
| Send reminder email to start training within | Specify the number of days, weeks, or months. When the learner registers for the course, if the learner does not attempt the course, they will receive this email after the time specified. Note: The attempt program/course/material notification must be turned on in Email Settings. |
| Allow learners to unregister from the course | Checking this box will allow learners to unregister from the course. A drop down list is made available for the time period a learner would have the ability to do unregister. |
| Allow learners to launch course | Checking this box allows learner the ability to relaunch the course after it has been completed. This option is used for reviewing purposes. |
| Allow managers to mark course complete for learners | By default, this box is checked and will allow the manager to mark completions for their learners. Completions can be implemented in the course roster section. Note: This course must be associated to the user group the manager oversees. |
| Generate Community | Do you want a community associated to this course? |
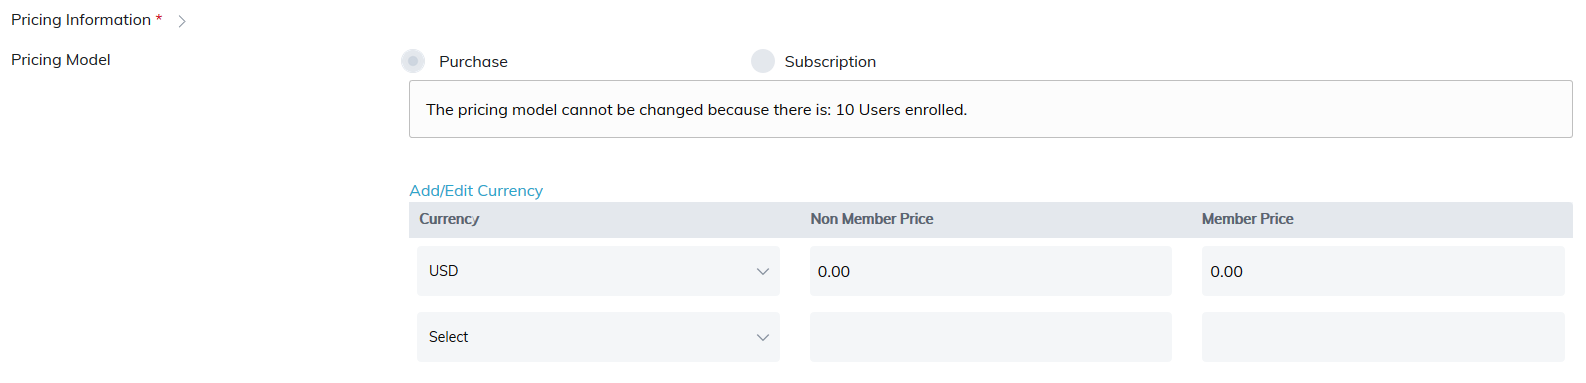
Pricing Information
This will only appear in eCommerce sites.
- Pricing Model: Select either Purchase or Subscription
- Purchase Option: be sure to include currency, non-member price, and member price. Note: Allow Member Pricing must be enabled in Site Settings > Catalog.
- The Select dropdown allows you to select your preferred or multiple currencies for the course. Select a currency type from the drop down list, then indicate prices for non-members and members.
- Note: In order for a Learner to receive a member price, they would need to be added to a user group where member pricing is enabled.
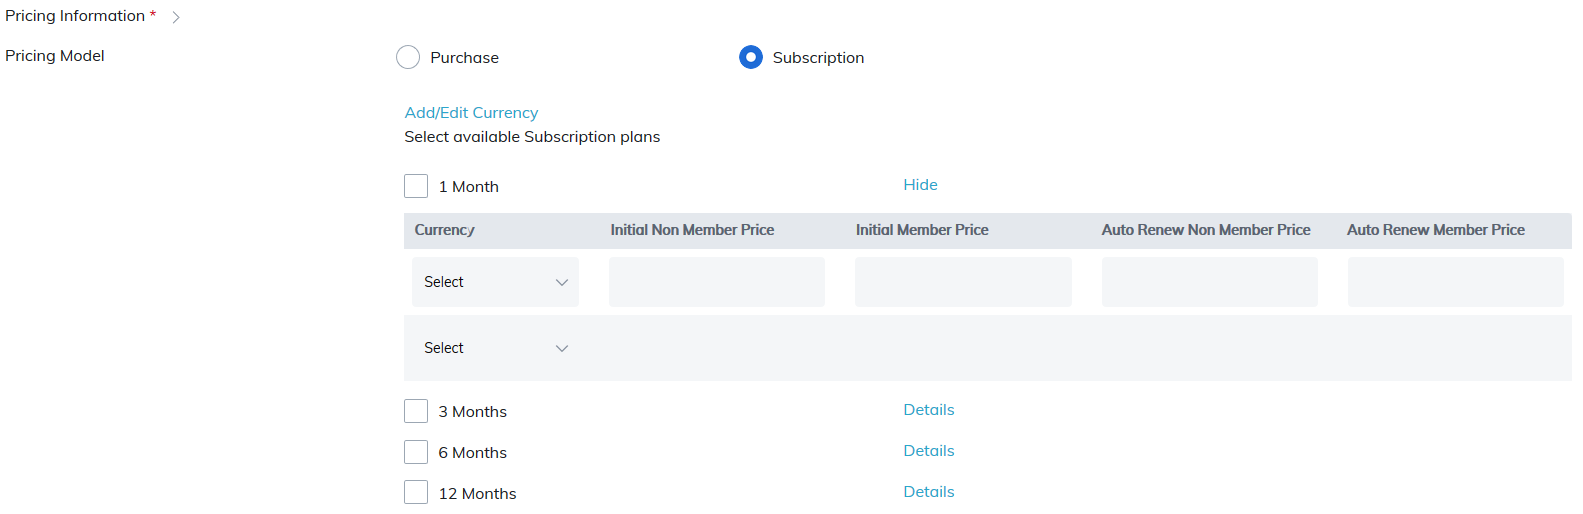
If using the subscription model, include currency and subscription plan(s).
A subscription model can also be used for selling access to the course for a 1 month, 3 month, 6 month, or 12 month period.
Timelines
| Field | Description |
|---|---|
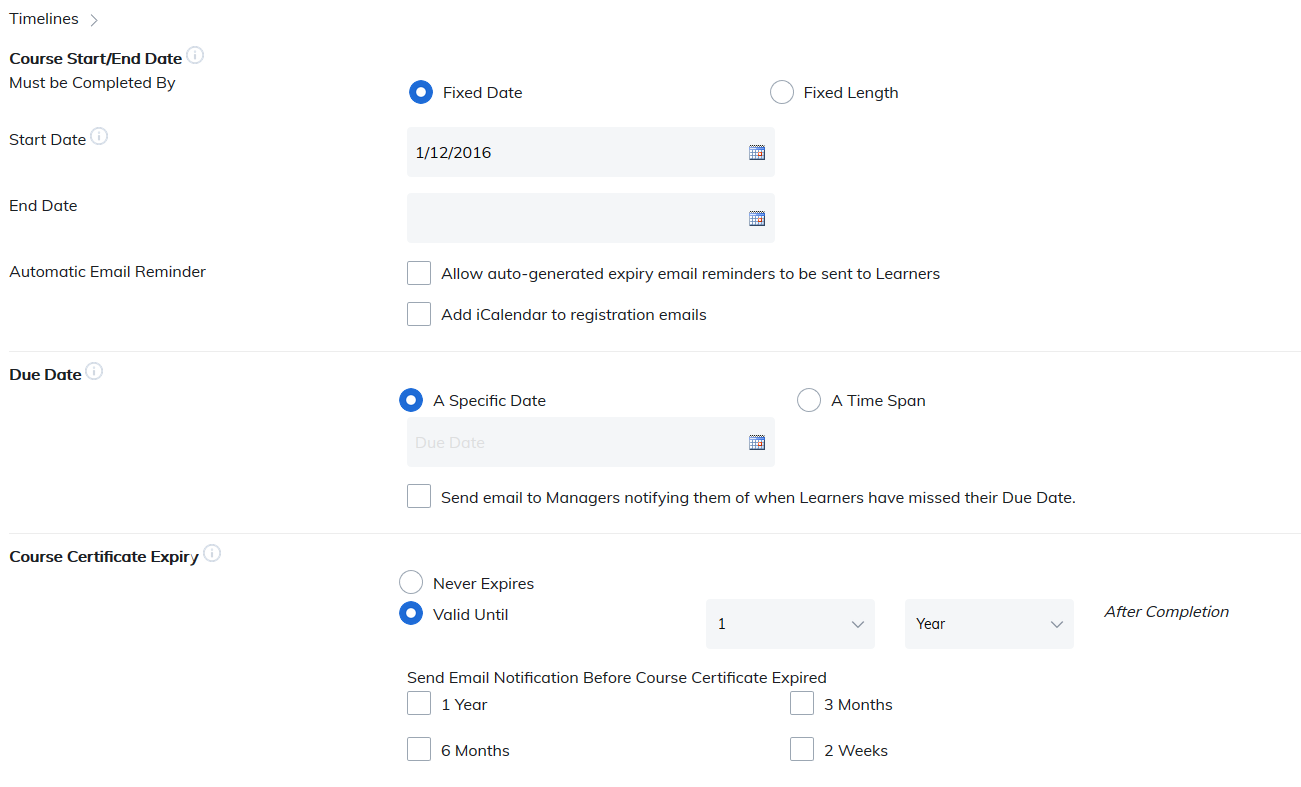
| Course Start/End Date | This section lets you control when access to the course begins and when it expires. You can choose either a Fixed Date or a Fixed Length. Fixed Date (default)
Fixed Length This option makes the course available for a specified period of time.
|
| Automatic Email Reminder | If the course is set to expire, then use this feature to alert learners before it is about to expire. Note: Expiry Course Notification must be turned on in Email Settings. |
| Add iCalendar to registration emails | Check this box and an iCalendar link will be available in the registration notification email, allowing learners to add the session to their calendar. |
| Due Date | This setting allows administrators and instructors to specify when a course must be completed. Learner Experience
Options
Manager Notifications
|
| Course Certificate Expiry | Choose whether the course certificate of completion will expire or never expire. Note: Certificate expiration pulls from the date the learner completed the course.
|
| Send Email Notification Before Course Expires | Check box to enable reminder notification, which can be sent 1 year, 6 months, 3 months, or 2 weeks before the certificate expires. Note: The course certificate expiration notification must be turned on in Email Settings. |
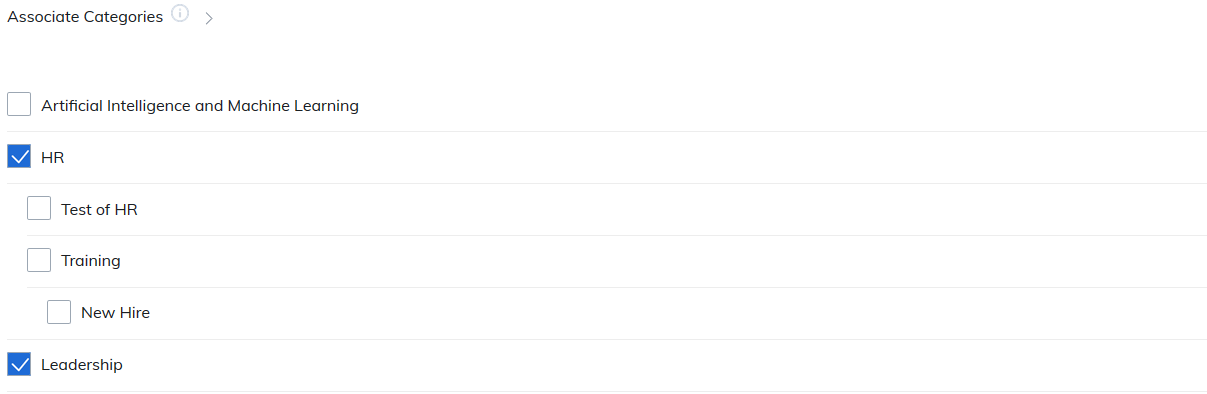
Associate Categories
Categories appear like a table of contents under the catalog tab. By associating your course to c Category, this will help learners find the type of training much quicker.
Note: Categories must be created first before the information will appear in this section. Please visit the Manage Categories section for more information on how to create them.
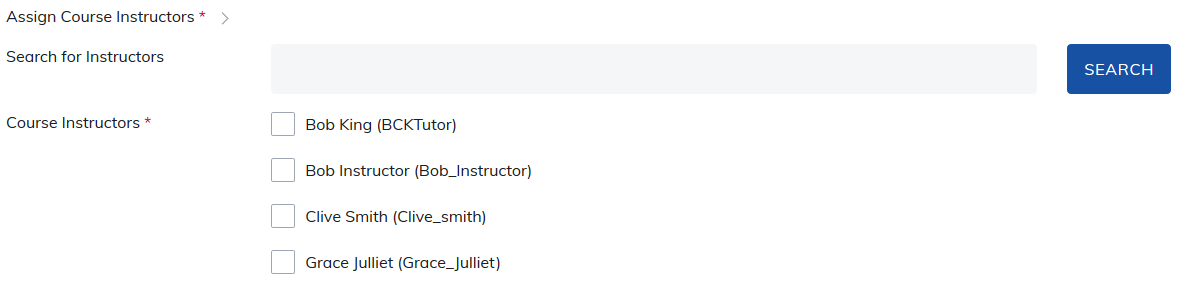
Assign Course Instructors
Here you can search for instructors and add them to the course. At least one instructor is required for the course. Instructors can edit the course and add learners to the course.
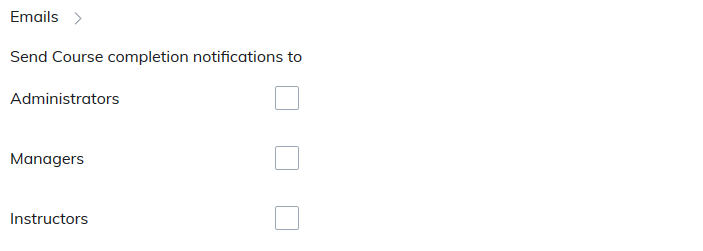
Emails
Send email course completion notifications based upon learner completions to the following roles: admins, managers and instructors.
Note: The list of instructors will only display the instructors associated with the course in Edit Basic Course Information. It will not display a list of all the instructors on your site.
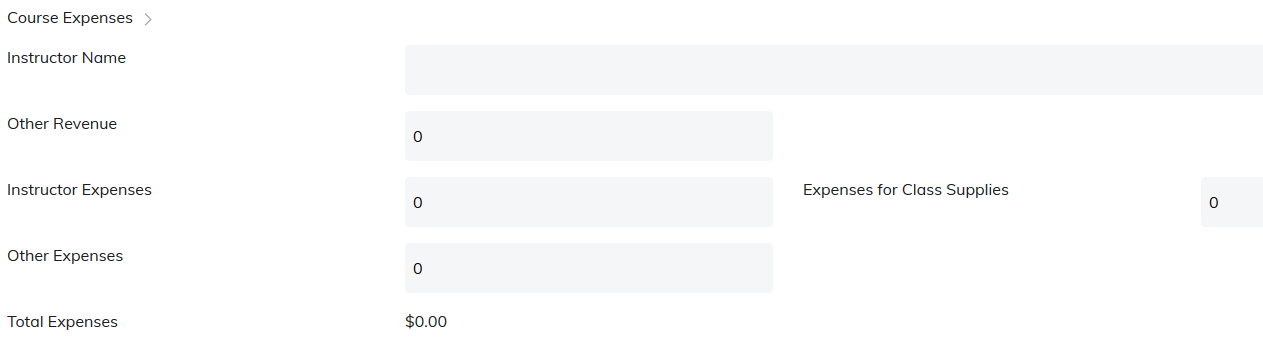
Course Expenses
This section can be used to include expenses Instructors may have for the course. Information entered here will populate into the expense report found on the admin reporting panel.
Associate Accreditations
Select accreditation(s) and accreditation value(s) for this course. These values can also appear on the learner's certificate.
Accrediting bodies can be selected from the drop down list. The accreditation value can also be entered. Both sets of information is made available to learners on their transcript page.
Note: Accreditations must be created first before the information will appear in this section. Please visit the Manage Accreditations section for more information on how to create them.

Associate Competencies
Once a competency is created, they will appear in this list. Select the competencies you would like to associate this course with.

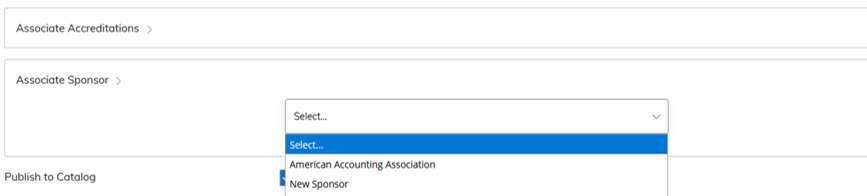
Associate Sponsor
By associating a sponsor, their logo will appear when users visit the course home page. This is a great way to promote organizations that are affiliated with your company.
Note: Sponsors must be created first before the information will appear in this section. Please visit the Manage Sponsors section for more information on how to create them.
Publish to Catalog
Check this box when you are ready for your course to appear in your catalog to at least one of your user groups.

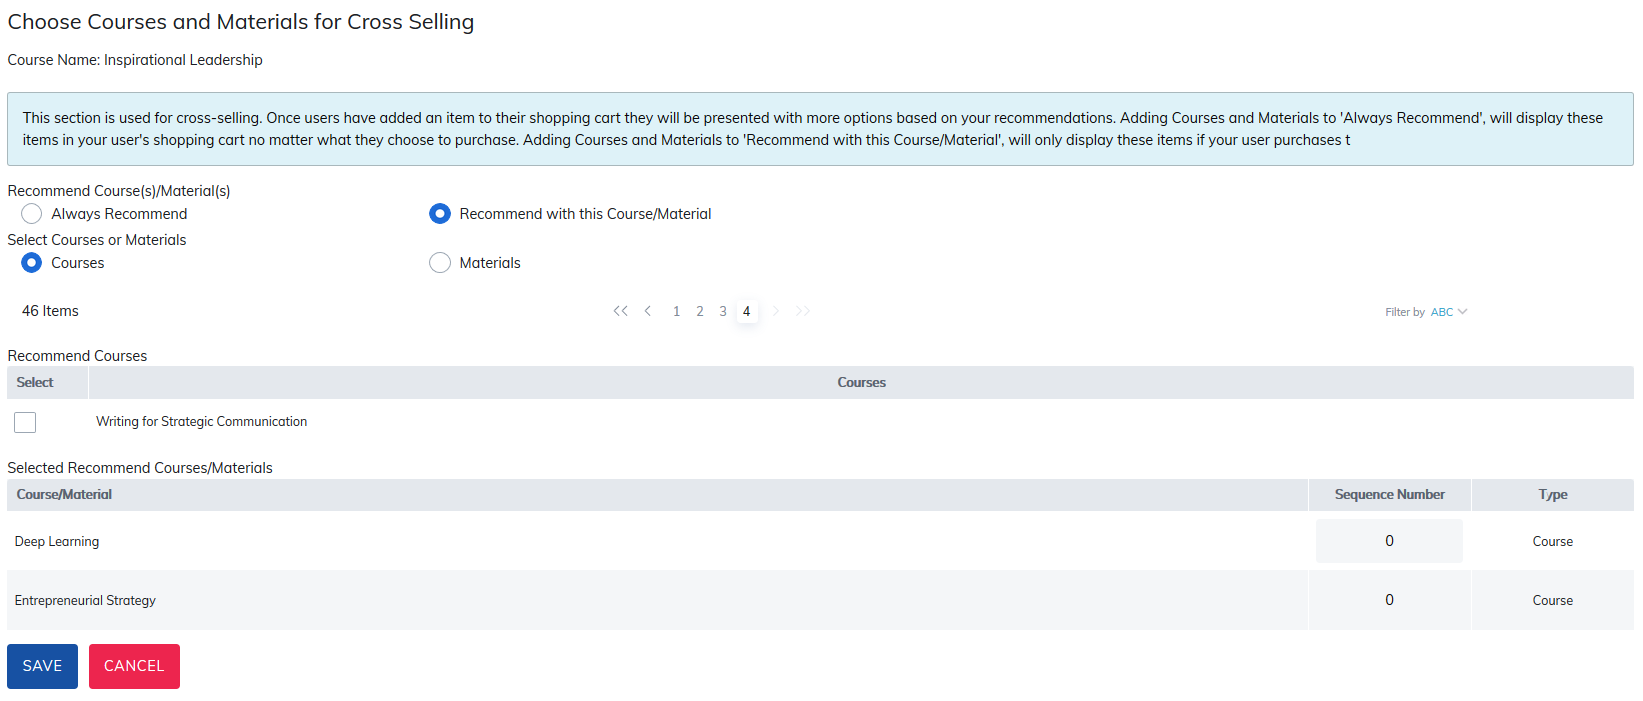
Assign Cross-Selling Content
This is available in eCommerce sites only.
This section is used for cross-selling. Once users have added an item to their shopping cart they will be presented with more options based on your recommendations.
Adding courses and materials to Always Recommend will display these items in your user's shopping cart no matter what they choose to purchase.
Adding courses and materials to Recommend with this Course/Material will only display these items if your user purchases.
You can also take advantage of the Sequence Number feature, allowing you to choose the order these items will appear.
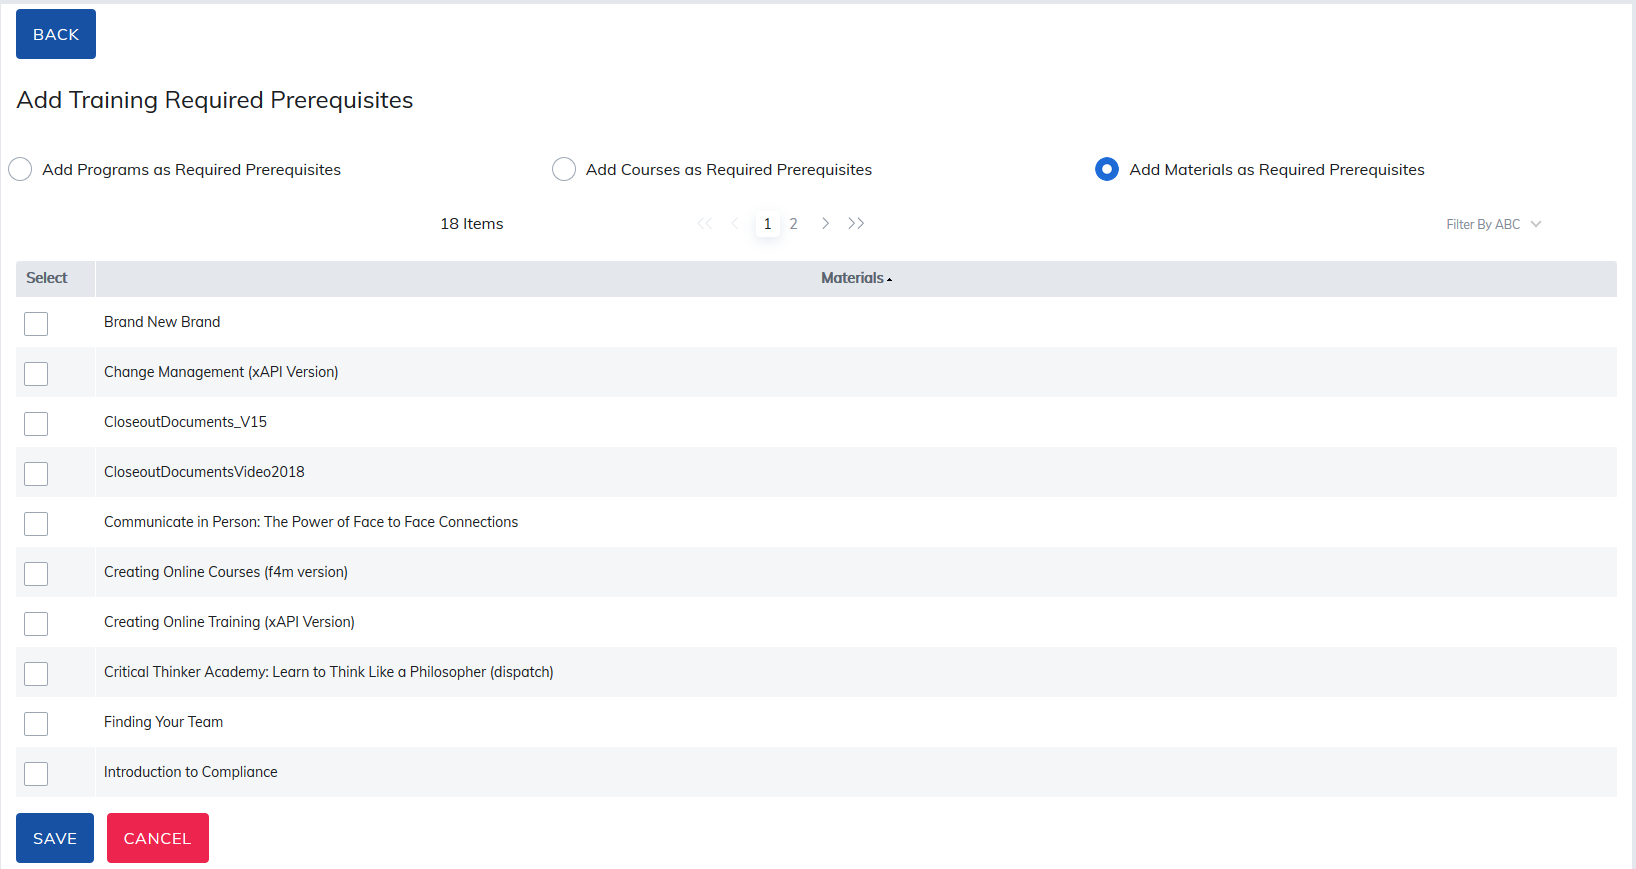
Add Required Prerequisites
Should a program, course, or material be required to be completed prior to a learner being able to register or start this course, a required prequisites may be added.
Radio buttons allow you to choose between programs, courses, and materials to make required.
Checking the box to the left of the item name and clicking Save will make this item a required prerequisite. This makes ita requirement to be completed before a learner may register for or start this course.
Be sure to save after making your changes.
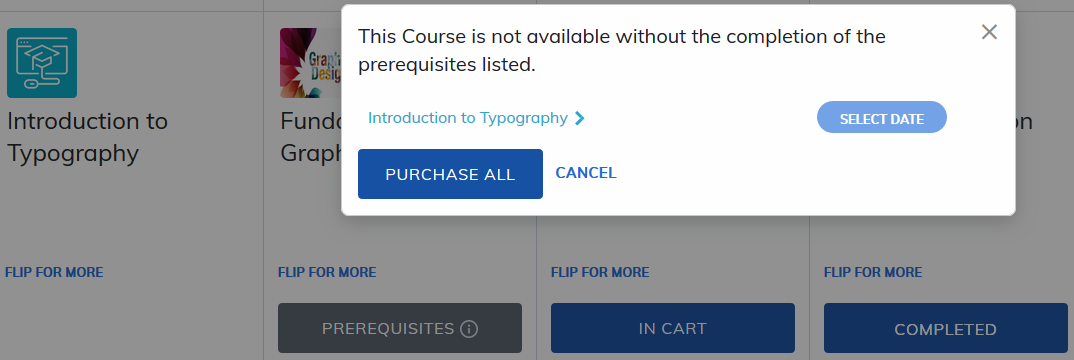
From the catalog tab, learners will see a list of prerequisites.
Add prerequisites to a course by selecting Add Prerequisites, which allows for pre-work in other programs, courses, and materials that need to be completed prior to registering.
Was this article helpful?
That’s Great!
Thank you for your feedback
Sorry! We couldn't be helpful
Thank you for your feedback
Feedback sent
We appreciate your effort and will try to fix the article