The Sponsor feature allows you to show your appreciation for any help an individual or organization may have provided. This takes the form of having their image appear on the program, course, or material details page. After creating your sponsors, you may then create or edit any program, course, or material and apply the appropriate sponsor.
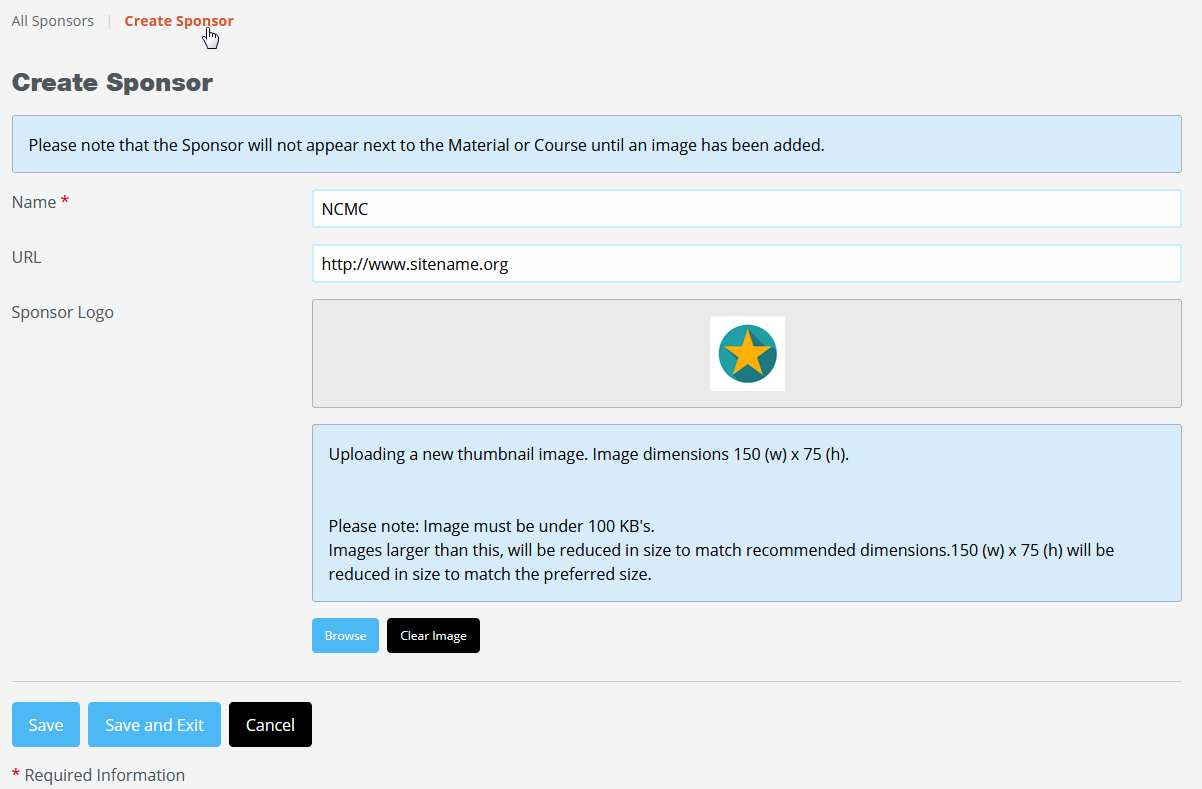
To add a sponsor, first click on the Manage Sponsors section on your Admin Panel and then click on Create Sponsor. Add a sponsor name, upload a photo and if you would like to have the photo hyperlinked, add address in URL field. Be sure to save your changes.
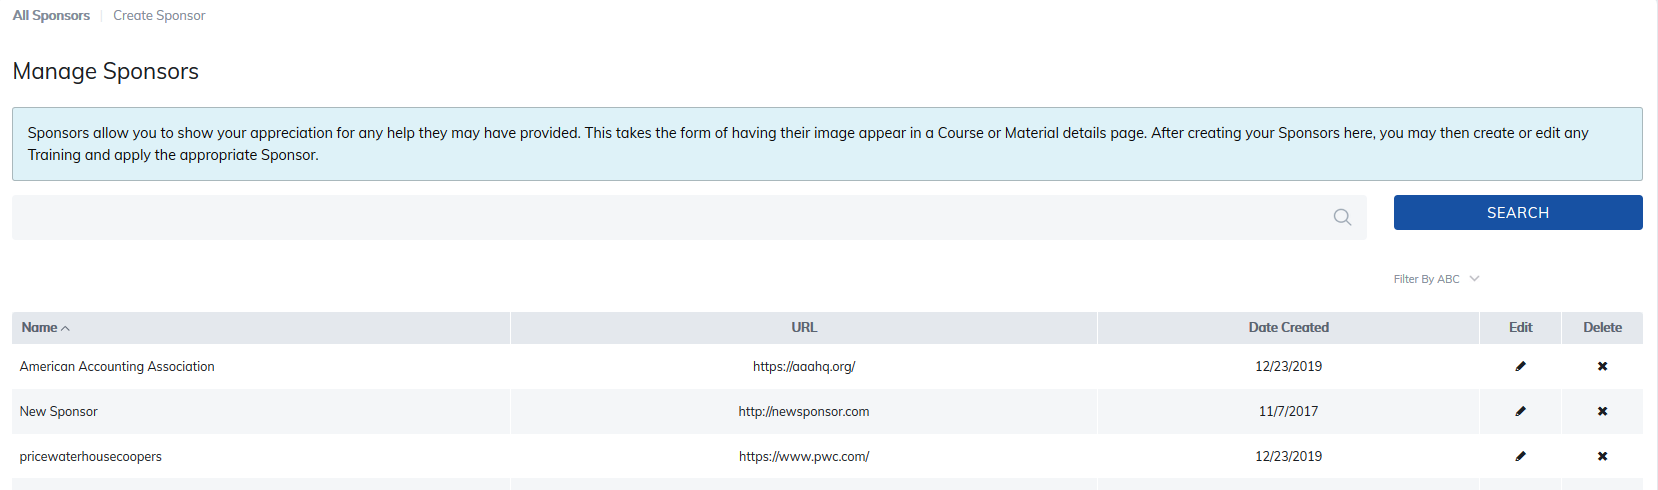
Update or remove sponsors at any time by selecting the Edit or Delete icon. The editing option will also show where in the site the sponsor link is being used.
To add sponsors to a program, course, or material, go to the item in question and select Edit Basic Information for that item. Scroll down to Associate Sponsors and select the sponsor you would like to add.

Your sponsor will display on the home page of that item and by clicking on the photo, will open up the hyperlinked website in a new tab.

Was this article helpful?
That’s Great!
Thank you for your feedback
Sorry! We couldn't be helpful
Thank you for your feedback
Feedback sent
We appreciate your effort and will try to fix the article