In addition to manually adding users, as detailed in Manage Users, users may be imported to your site using the Import User page.
Importing Users via CSV (& FTPS)
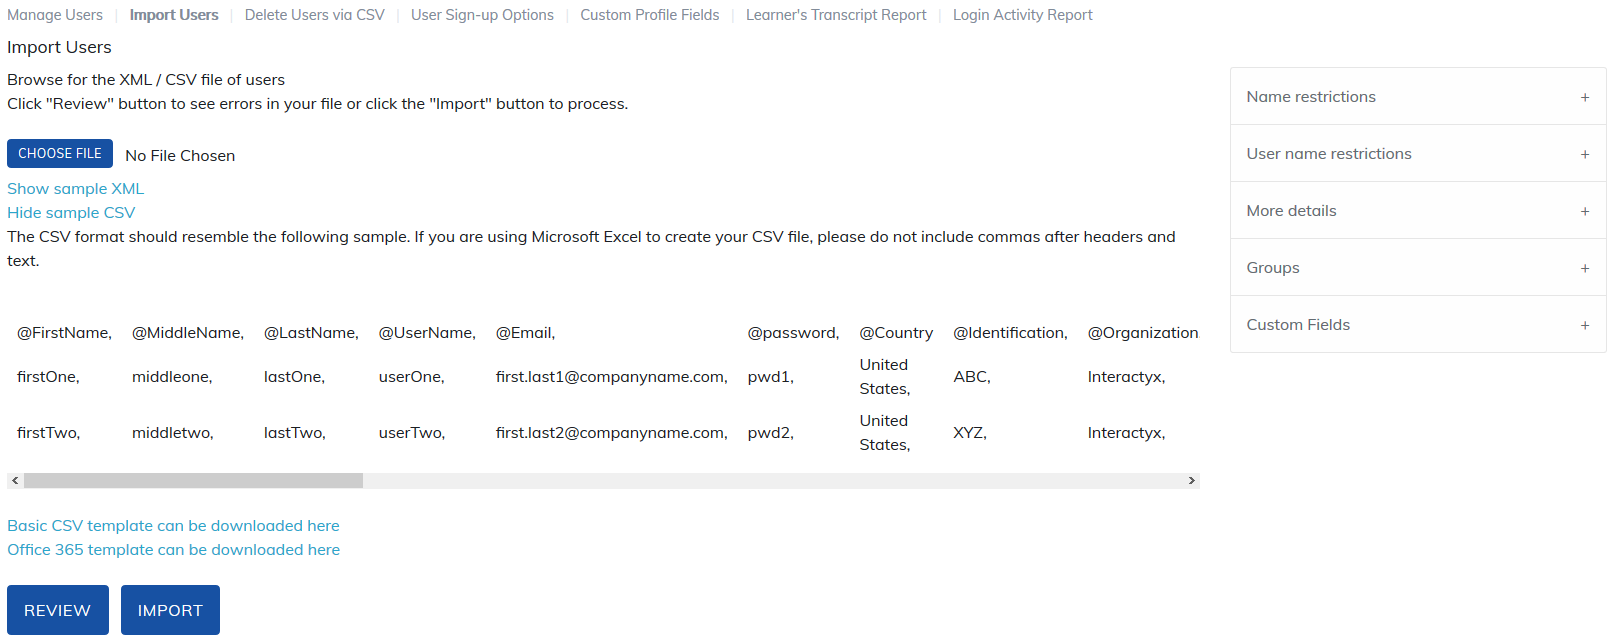
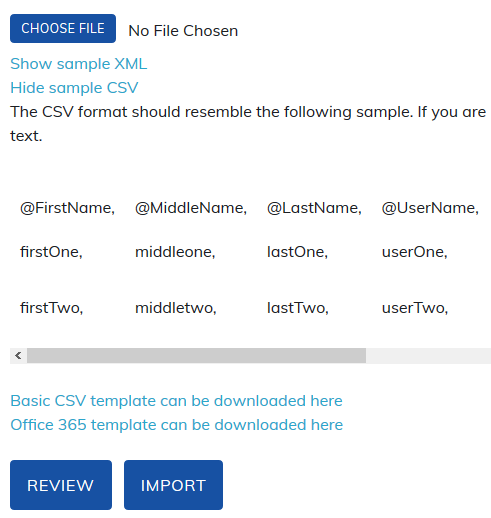
The Import User page displays sample CSV headers which may also be copied and pasted into Excel or a text editor when creating your CSV file. CSV templates, as needed, can be directly accessed from your admin panel.
The follow fields will be required when importing users:
- @Username (must be unique): Username should only be letters, numbers, at sign ("@"), hyphens ("-") and underscores ("_"). Space, comma, period and apostrophes are not allowed in user names. Usernames may be email addresses.
- @FirstName: First names should be letters, hyphens, underscores, spaces and apostrophes only. No periods, quotation marks, or commas are allowed.
- @LastName: Last names should be letters, hyphens, underscores, spaces and apostrophes only. No periods, quotation marks, or commas are allowed.
- @Email: The user's email address.
- @Password: If you don't add a a password, the system will automatically generate one. If this is your choice, we suggest you turn on "Change password on first time login" in Site Settings > Advanced page > Password Settings.
- @Active: Yes will make this user active in your site. No will add the user but they will not be able to login.
- @Role: Learner, manager, instructor, and administrator are available to be imported. If a user is to have more than one role, please separate them with a | in the @Role column, for example Learner|Instructor.
Common mistakes to avoid
- If you are using Microsoft Excel to create your CSV, please do not include commas after headers and text.
- Please do not include commas, quotation marks or periods within a field, for example if a user you are importing has the last name "Smith, Jr" or the title "Director, Sales", please do not include the comma.
- Make sure to check Email Settings before importing users. If the registration notification box is checked to be sent to users, any user import will automatically trigger for new users created.
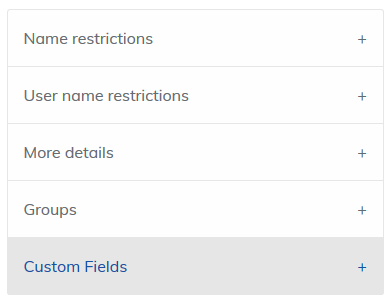
Also, please refer to the right side of the Import Users page for more helpful details.
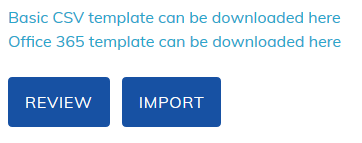
Once the CSV file is ready to load, click Choose File to upload the file, then Review to review your file.
Always do the Review option on your file as it will:
- Alert you if there are any users in your site with a username contained within your file.
- Alert you if any data is missing for required fields.
- Alert you to errors in the file. For example: periods, commas, quotation marks, etc.
Clicking the Import button will import the users into your site.
Once the file has processed, an import summary page will show you the total number of users added and updated and the number of user groups created from uploading your file.
FTPS accounts: If you would like to find out more about the automated CSV file upload via FTPS please reach out to Client Service.
Clients creating and updating users using the automated FTPS or FTP process you will receive an email alert when the file sent is processed and verifies if the file was uploaded successfully or could not be uploaded.
Was this article helpful?
That’s Great!
Thank you for your feedback
Sorry! We couldn't be helpful
Thank you for your feedback
Feedback sent
We appreciate your effort and will try to fix the article